Please note:
This year I have a combined class of Grade 9 Foods and Grade 10 Foods. Therefore, I am using one page for both grades as we will be making the same recipes in the cooking lab. Please note that Grade 10's will have a more comprehensive program to fit their educational outcome.
For assignments and additional information please go to Google Classroom.
Welcome to Foods 10
Key Concepts:
Kitchen Safety and Hygiene
Food Basics - Cooking terms, Measuring Ingredients, Creating Meals at home, baking, snacks, low cost meals
Budgeting meals for yourself and your family
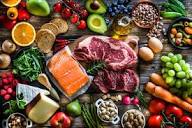
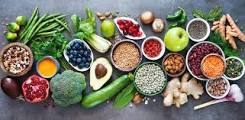
The Canada Food Guide and Nutrition
Reading labels
Group Work (students work in cooking lab Units of 4 or 5)
Evaluation: Participation 30%, Assignments and Cleanup 50%, Quizzes and tests 10%, Final 10%
Foods 10 utilizes more advanced food preparation and food handling skills. Safety and lab procedures will be emphasized along with the planning and skills involved in creating a variety of nutritious foods. Student expectations are higher in this course.
Assignments will be given out in class.
Students and parents can view all assignments on Google Classroom.
Please allow the first week to set up Google Classroom.
I look forward to teaching all of you this year!
Welcome to Foods 9
Key Concepts:
Kitchen Safety and Hygiene
Food Basics - Cooking terms, Measuring Ingredients, baking, snacks, simple meals on the go
The Canada Food Guide and Nutrition
Reading labels
Budgeting meals for yourself and your family
Group work (students works in cooking lab units of 4 or 5)
Evaluation: Participation 30%, Assignments and Cleanup 50%, Quizzes and tests 10%, Final 10%
Foods 9 continues with basic food preparation and food handling skills and then continues to more complex food preparation and food handling skills. Safety and lab procedures will be emphasized along with the planning and skills involved in creating a variety of easy-to-prepare, nutritious foods.
Assignments will be given out in class.
Students and parents can view all assignments on Google Classroom.
Please allow the first week to set up Google Classroom.
I look forward to teaching all of you this year!
THIS SITE IS UNDER CONSTRUCTION! PLEASE SEE ME IN CLASS FOR THE FIRST WEEK OF ASSIGNMENTS AND INFORMATION.
| long_range_plans_food_10.docx |
Make up Lab Sheet
Monday and Tuesday - Day one and two activities.
1. Introduction, rules and expectations for Foods 9/10
2. The History of Food
1. Introduction, rules and expectations for Foods 9/10
2. The History of Food
Please come to class for this assignment. Also it is in Google Classroom
August 24th - Crime Scene (kitchen safety) group assignment
August 29th - Foods Unit booklet work. Review of Safety Procedures.
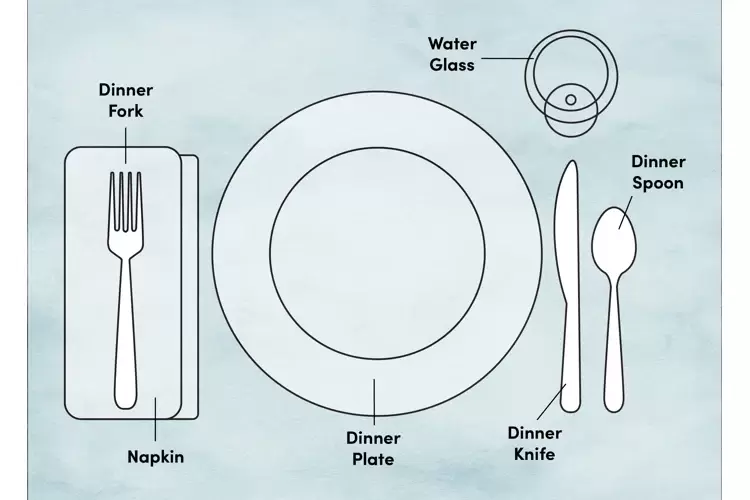
Setting a table doesn’t have to be elaborate. This basic place setting is perfect for a small, informal lunch with friends or family. For this type of setting, place a plate in front of each chair. Then take a folded napkin and place it to the left of the plate. Next, place a dinner fork on top of the napkin. To the right of the plate, place a knife (blade facing the plate) and then a spoon. At the tip of the knife, place a water glass.
Breakfast Quesadillas Recipe - September 2nd
https://natashaskitchen.com/breakfast-quesadillas/
https://natashaskitchen.com/breakfast-quesadillas/
Chocolate Chip Cookies - September 9th
| chocolate_chip_cookies.docx |
https://www.allrecipes.com/recipe/10813/best-chocolate-chip-cookies/
August 31st. and Sept. 6th/7th/8th - Google Classroom Worksheet and Assignment - Types of Food Borne Illness
September 12th - Kitchen Safety quiz.
September 13th - Lab - Easy Blueberry Muffins with Lemon Glaze
September 12th - Kitchen Safety quiz.
September 13th - Lab - Easy Blueberry Muffins with Lemon Glaze
https://natashaskitchen.com/blueberry-muffins-with-lemon-glaze/
https://www.allrecipes.com/recipe/11376/saltine-toffee-cookies/
https://natashaskitchen.com/easy-crepe-recipe/
Easy Crepe RecipePrep Time: 10 minutes
Cook Time: 15 minutes
Total Time: 25 minutesHow to make Perfect Crepes! This blender crepe recipe is easy and perfect every time. The ingredients are simple and you don't need any fancy equipment. You can achieve beautiful, lacy, and delicious homemade French crepes.
Author: Natasha Kravchuk
Skill Level: Easy
Cost to Make: $3-$5
Servings: 12 crepes, 8 inches in diameterIngredients
- ½ cup lukewarm water
- 1 cup milk, warm
- 4 large eggs
- 4 Tbsp unsalted butter, melted, plus more to sauté
- 1 cup all-purpose flour
- 2 Tbsp granulated sugar
- Pinch sea salt
- Add the ingredients into a blender in the order they are listed, starting with the wet ingredients. Blend on low speed until combined then set aside for a few minutes for the bubbles to go down.
- Melt a dot of butter in a 10-inch non-stick skillet over medium heat (2 skillets make the process go faster). Pour about 1/4 cup batter into the skillet, or enough to coat the bottom of the pan. As you are pouring the batter into the skillet, swirl the batter to evenly coat the bottom. Fill any gaps with a little more batter.
- Once the edges are golden, flip the crepe using a thin-edged spatula to easily get under the crepe. Sautee another 30 seconds or until the second side turns golden then turn the crepe out onto a clean cutting board.
- Repeat with the remaining batter, adding butter as needed. Once crepes are at room temp, they can be stacked.
| puffed_wheat_squares.docx |
Pretzel Dough:
1 cup (240 ml) lukewarm water
Scant 2 teaspoons (6 grams) active dry yeast
1 tablespoon (15 grams) granulated white sugar
1 3/4 cups (225 grams) all-purpose flour
1 cup (130 grams) bread flour
1 tablespoon (15 grams) light brown sugar
2 tablespoons (25 grams) butter, melted
1 teaspoon (5 grams) salt
8 cups (2 liters) water
1/3 cup (90 grams) baking soda (bicarbonate of soda)
Glaze:
1 large egg yolk (about 17 grams)
1 tablespoon cream
Pretzel Salt, Sesame Seeds, and/or Poppy Seeds
Day 1 -
Homemade Soft Pretzels:In a small measuring cup stir the yeast and white sugar into lukewarm water. Let stand until foamy (about 5-10 minutes).
In the bowl of your electric mixer, fitted with the dough hook, combine the flours, brown sugar, and salt. Gradually pour the yeast mixture into the flour mixture, with the mixer on low speed. Add the melted butter, then knead this mixture on medium speed until you have a soft dough that is smooth and elastic, and just a little sticky (this will take about 3 to 5 minutes). Shape the dough into a ball and place into a lightly oiled large bowl, turning once so the top of the dough has a light coating of oil (this prevents a crust from forming on the top of the dough). Cover with plastic wrap and let rise in a warm place until doubled (approximately 1 hour).Then gently press the dough to release the air and let rest about five to ten minutes. Cover and put into the refrigerator until next day.
Read more: https://www.joyofbaking.com/breads/homemadepretzelsrecipe.html#ixzz7gIETaNpF
Follow us: @joyofbaking on Twitter| joyofbaking on Facebook
Day 2 -
Homemade Soft Pretzels:In a small measuring cup stir the yeast and white sugar into lukewarm water. Let stand until foamy (about 5-10 minutes).
In the bowl of your electric mixer, fitted with the dough hook, combine the flours, brown sugar, and salt. Gradually pour the yeast mixture into the flour mixture, with the mixer on low speed. Add the melted butter, then knead this mixture on medium speed until you have a soft dough that is smooth and elastic, and just a little sticky (this will take about 3 to 5 minutes). Shape the dough into a ball and place into a lightly oiled large bowl, turning once so the top of the dough has a light coating of oil (this prevents a crust from forming on the top of the dough). Cover with plastic wrap and let rise in a warm place until doubled (approximately 1 hour).Then gently press the dough to release the air and let rest about five to ten minutes. Cover and put into the refrigerator until next day.
Read more: https://www.joyofbaking.com/breads/homemadepretzelsrecipe.html#ixzz7gIETaNpF
Follow us: @joyofbaking on Twitter| joyofbaking on Facebook
Day 2 -
Homemade Soft Pretzels:In a small measuring cup stir the yeast and white sugar into lukewarm water. Let stand until foamy (about 5-10 minutes).
In the bowl of your electric mixer, fitted with the dough hook, combine the flours, brown sugar, and salt. Gradually pour the yeast mixture into the flour mixture, with the mixer on low speed. Add the melted butter, then knead this mixture on medium speed until you have a soft dough that is smooth and elastic, and just a little sticky (this will take about 3 to 5 minutes). Shape the dough into a ball and place into a lightly oiled large bowl, turning once so the top of the dough has a light coating of oil (this prevents a crust from forming on the top of the dough). Cover with plastic wrap and let rise in a warm place until doubled (approximately 1 hour).Then gently press the dough to release the air and let rest about five to ten minutes. Cover and put into the refrigerator until next day.
Read more: https://www.joyofbaking.com/breads/homemadepretzelsrecipe.html#ixzz7gIETaNpF
Follow us: @joyofbaking on Twitter| joyofbaking on Facebook
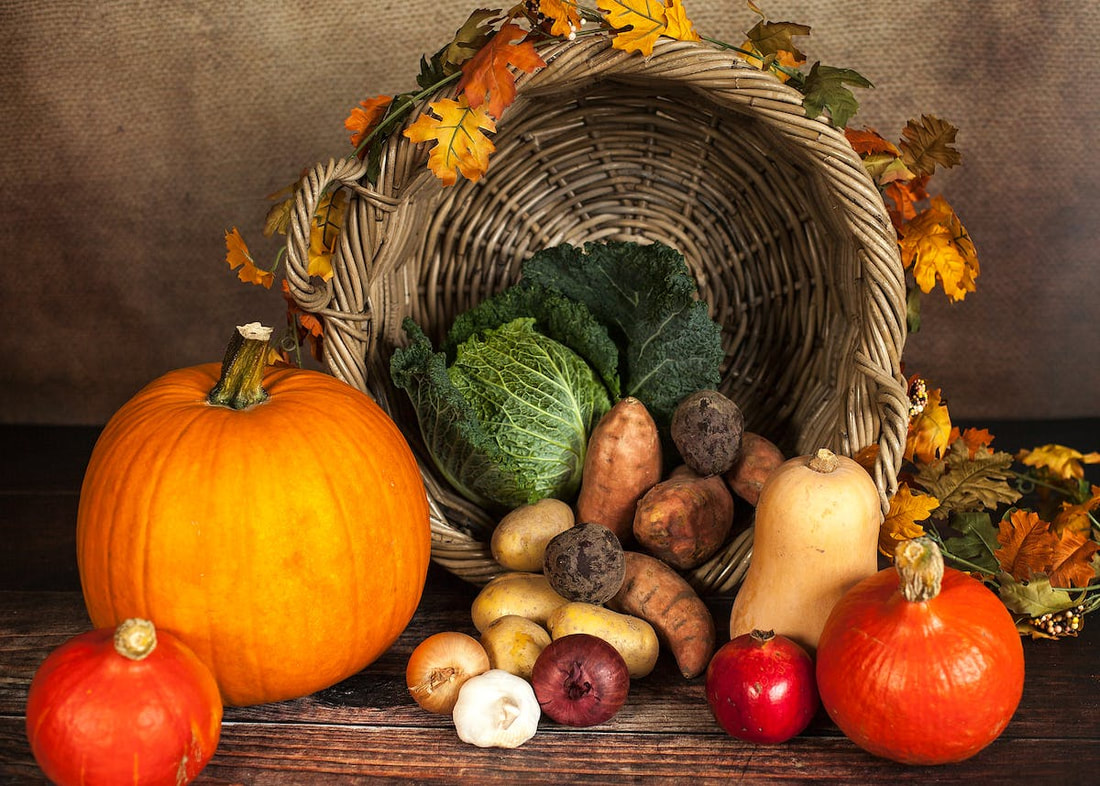
Make Every Bite Count!
This activity is based on food costs and the MYPLATE website. Students will be given $10 to shop in the grocery store list (or use the internet for the cost of foods) to complete this assignment. The MyPlate website will have students enter in some basic information and will give them the portions of each category they need for a day. This hopefully will be enlightening as well as educational in their nutrition guide Unit!
This activity is based on food costs and the MYPLATE website. Students will be given $10 to shop in the grocery store list (or use the internet for the cost of foods) to complete this assignment. The MyPlate website will have students enter in some basic information and will give them the portions of each category they need for a day. This hopefully will be enlightening as well as educational in their nutrition guide Unit!
Julia Child!!!
http://www.dailymotion.com/video/x7tnc9_the-french-chef_fun
Please go to Google Classroom for the assignment on Julia Child. As well as the assignment on the movie "Julie & Julia". We will watch the movie in class. If you are at home, you can view the movie on several formats, Netflix, AppleTV, etc. Choose which works for you.
https://natashaskitchen.com/wprm_print/67021/
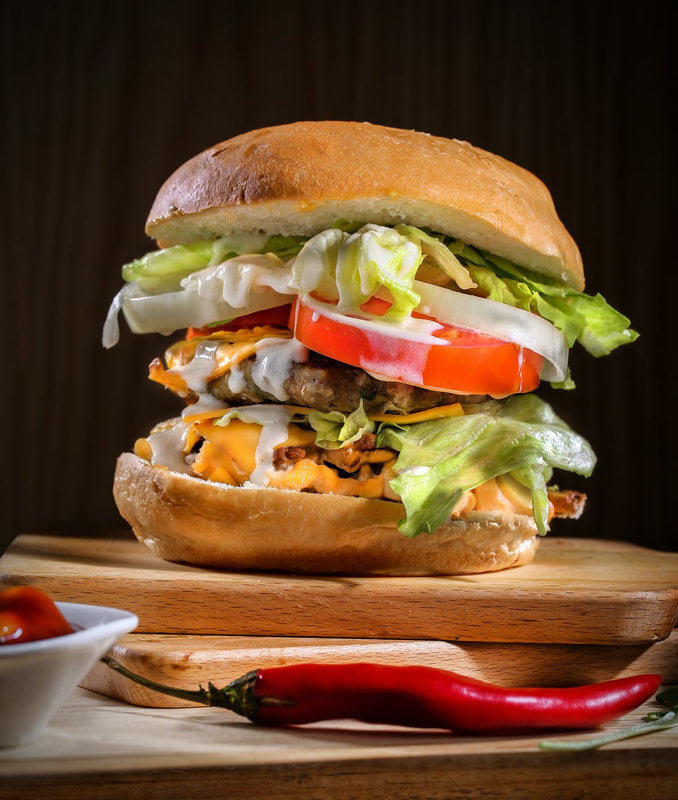
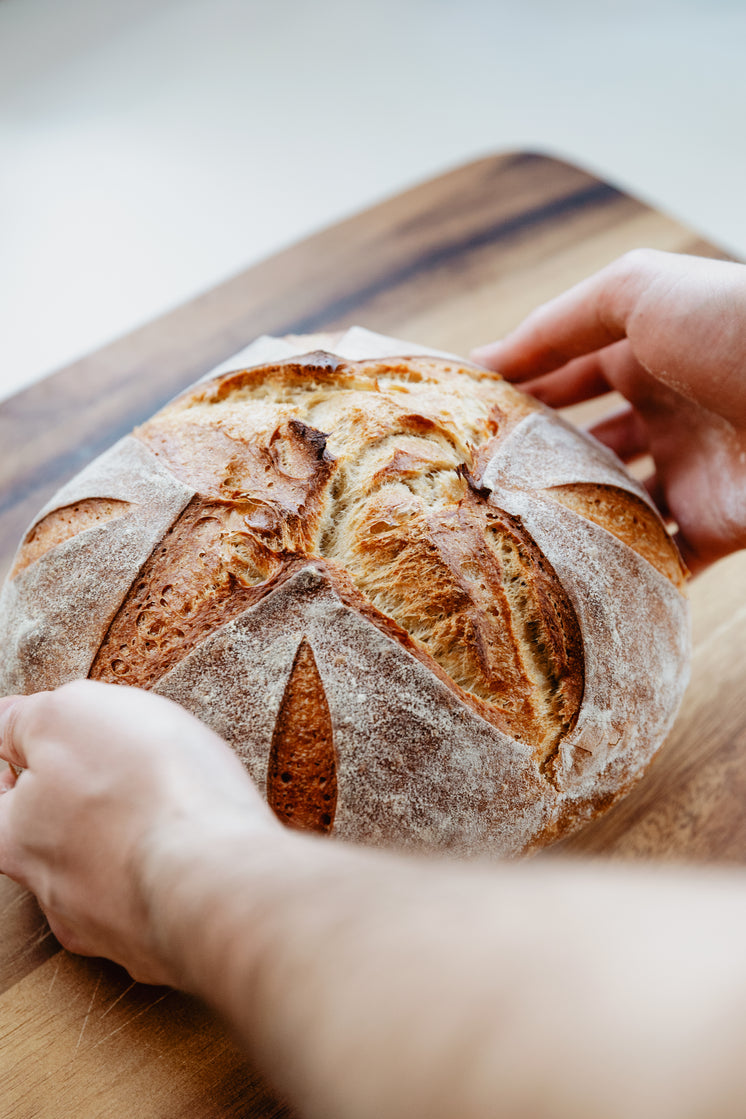
The Simple SANDWICH!
There is nothing "simple" about the sandwich. Named after the Earl of Sandwich upon his request (to not leave the gambling table) but have his food but to still play cards. He requested meat between two slices of bread, hence, the "sandwich" as we know it today!
The assignment and slide show is in Google Classroom.
Enjoy!
Cupcake Wars!
This week in our Units we will be designing, baking and decorating. Next week they will be judged.
Fondant recipe below:
https://www.thespruceeats.com/marshmallow-fondant-520778
This week in our Units we will be designing, baking and decorating. Next week they will be judged.
Fondant recipe below:
https://www.thespruceeats.com/marshmallow-fondant-520778
https://www.youtube.com/watch?v=ToIUFREv2cM
https://spainonafork.com/easy-to-make-french-onion-soup/
Bechamel - the white sauce that creates everything from Macaroni & Cheese to Lasagna.
https://www.allrecipes.com/recipe/139987/basic-bechamel-sauce/
Bechamel Macaroni & Cheese
https://www.epicurious.com/recipes/member/views/bechamel-macaroni-cheese-52678751
https://www.allrecipes.com/recipe/139987/basic-bechamel-sauce/
Bechamel Macaroni & Cheese
https://www.epicurious.com/recipes/member/views/bechamel-macaroni-cheese-52678751
Tuna Noodle Casserole
https://www.allrecipes.com/recipe/151593/campbells-tuna-noodle-casserole/
https://www.allrecipes.com/recipe/151593/campbells-tuna-noodle-casserole/
https://www.thecookingfoodie.com/recipe/The-Best-Macaroni-and-Cheese-Recipe
https://natashaskitchen.com/beef-and-broccoli-ramen-stir-fry/
How to Make Sushi: A Beginner's Guide!
https://natashaskitchen.com/overnight-cinnamon-rolls-recipe/
https://natashaskitchen.com/lemon-bars-recipe/
Canadian First Peoples Food!
NORTH
"First Nations in Canada have a rich food history. For centuries, Indigenous people survived on what the land provided – and the land could be very generous. Traditional foods, which are often called country foods, enriched First Nations’ culture, values, health, well-being and social practices. Each region and season provides different species, but all of Canada’s First Nations harvested a variety of wild meats, fish, birds, plants and berries." (Moosemeat and Marmalade Publication)
"First Nations in Canada have a rich food history. For centuries, Indigenous people survived on what the land provided – and the land could be very generous. Traditional foods, which are often called country foods, enriched First Nations’ culture, values, health, well-being and social practices. Each region and season provides different species, but all of Canada’s First Nations harvested a variety of wild meats, fish, birds, plants and berries." (Moosemeat and Marmalade Publication)
https://www.stevespanglerscience.com/lab/experiments/growing-bacteria/
Lab Set Up
Additional Recipes!
There are numerous ways to make lasagna, with meat, without meat, with cheese or vegan cheese, using cashews or nutritional yeast for example. After trying many types of recipes in my kitchen I decided to create my own. Here is my own recipe for Vegetarian Lasagna. If you are new to the kitchen, maybe Google a simpler version. If you'd like to try it at home, have a parent nearby to help with any of the steps or encase you get tired of standing in the kitchen. I usually create this recipe over 2 days so I can spend as little time in the kitchen and the rest of my valuable time outdoors in the Yukon.
*****Recipe to upload soon!*****
*****Recipe to upload soon!*****
https://natashaskitchen.com/fudgy-brownie-recipe/
https://natashaskitchen.com/zucchini-fritters-video/
| gingerbread_template__1_.pdf |